


-
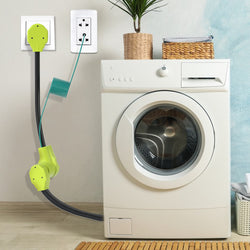
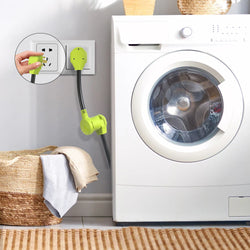
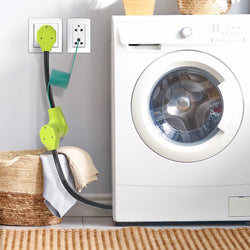
How to Change a 3-Prong Dryer Cord to a to 4-Prong Cord June 09, 2022
-
Introduction to the cognition and use of the dryer adapter cord February 26, 2022
-
Introduction to the use and cognition of the dryer adapter February 24, 2022


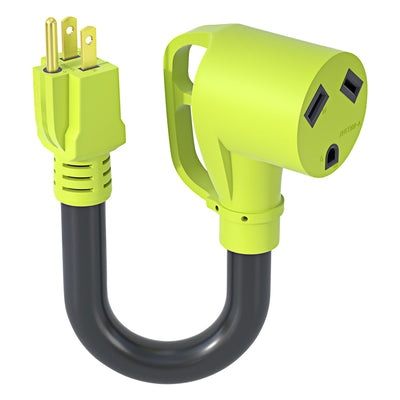

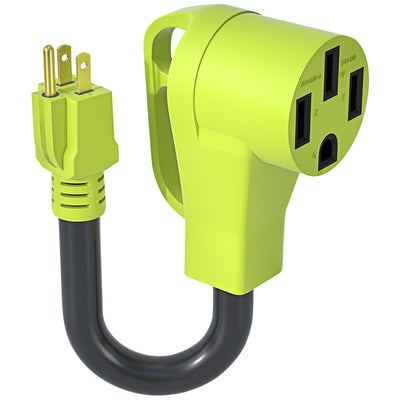
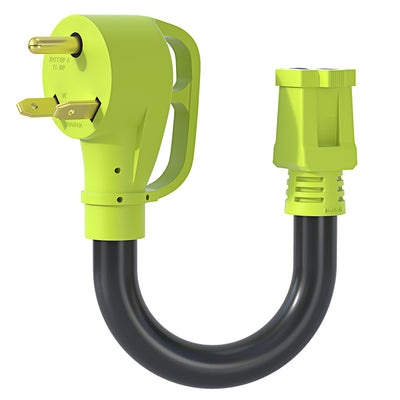
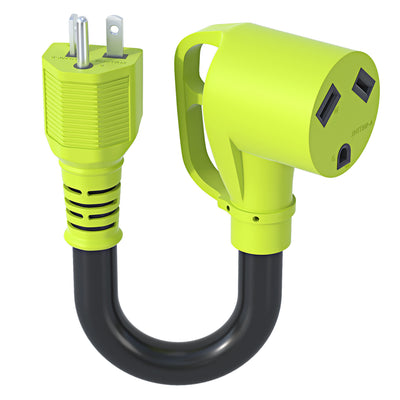
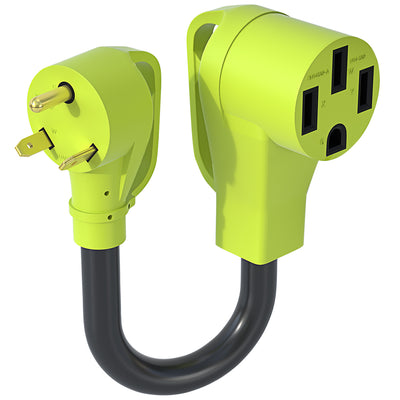

How to Change a 3-Prong Dryer Cord to a to 4-Prong Cord
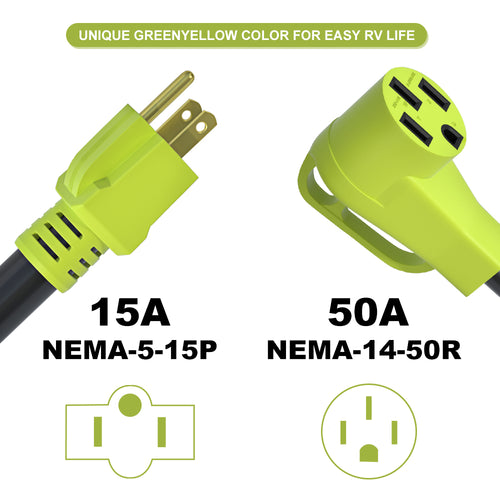
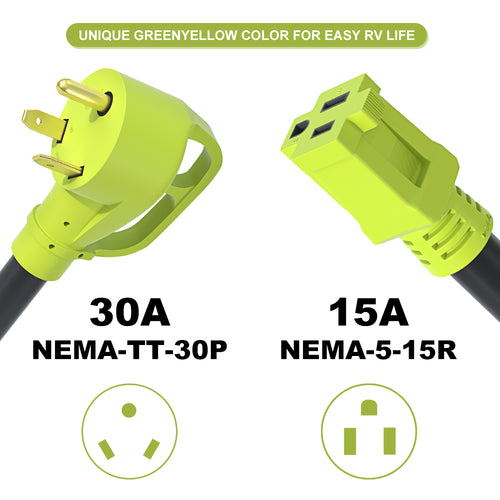
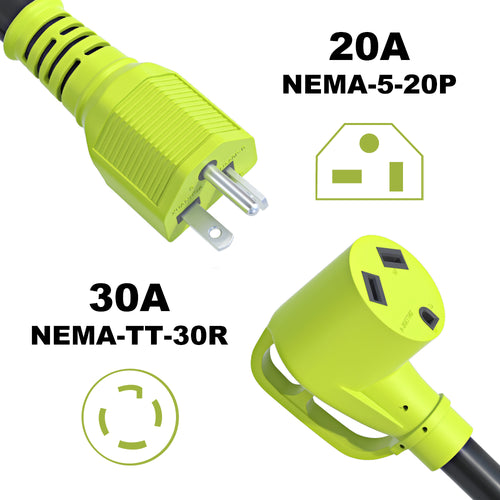
4-prong dryer cords are becoming more popular as they are the new standard of dryer cords. The 4-prong cord is easier to use than the old 3-prong plug.
The 4-prong cord allows you to plug your dryer into a wall outlet without hassle or extra equipment. It also makes it easier for you to plug in your dryer anywhere in your home because it does not require a dryer plug adapter as the old 3-prong plugs do.
You can easily install a 4-prong cord on your dryer if you have basic knowledge of tools and electricity. This guide will provide step-by-step instructions for changing a dryer plug adapter 3 to a 4-prong cord so that you don't have to pay for an expensive service call or buy a costly appliance repair kit when all you need is an inexpensive replacement part.
Remove the Old 3-Prong Cord
It is easy to remove the old 3-prong cord with a screwdriver. Follow the steps below:
- Remove the Screws: The first step to changing a 3-prong dryer cord is to remove the screws holding the old cord in place. You will need a screwdriver to remove these screws.
- Unplug Your Dryer:Next, unplug your dryer so that you don't accidentally shock yourself while working on it.
- Remove the Old Cord:Now that you have unplugged your dryer and removed any attached screws, you can begin removing the old cord from its connection points on the back of your dryer.
If you have never removed this type of connection before, you will need to use a pair of needle-nose pliers or channel locks to loosen up this connection point and pull out your old three-prong cord.
Check for damage to wiring or connectors.
Using a multimeter, check all the wires and connectors for continuity. Look for broken or frayed wires, especially if they are exposed to bare copper. Wires that are broken or frayed could cause a short circuit.
Check for corrosion, dirt, or damaged terminals on the connectors as well. In any of these cases, you should replace the damaged part with a new one.
Install 4-Prong Dryer Cord
Installing a 4-prong dryer cord is an easy do-it-yourself project that you can complete in just a few minutes. Here's how to install a four-prong dryer cord on your dryer:
- Disconnect the power supply from the wall outlet.
- Open the front door of the dryer.
- Remove the screws from the top of the control panel using a screwdriver. Lift on the control panel and unplug it from the electrical connection behind it.
- Unscrew the grounding wire nut and pull out the grounding wire from its slot in the wiring compartment cover. Loosen, but do not remove any other cables connected to this cover.
- Unscrew all three screws holding down the cover and lift it out of its housing while lifting it with one hand at its bottom edge and holding your other hand underneath it.
Bottom Line
It's important to remember that changing an electric dryer plug adapter from 3 to 4 prong is a relatively easy project, and you don't need to be an electrician to change out your old, faulty cord. It won't take very long, and if you follow the instructions above, you'll be able to do it without much problem—and save on additional electricity costs along the way.
